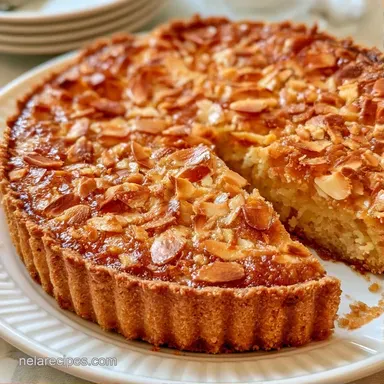
Crispy Almond Flour Pie Crust
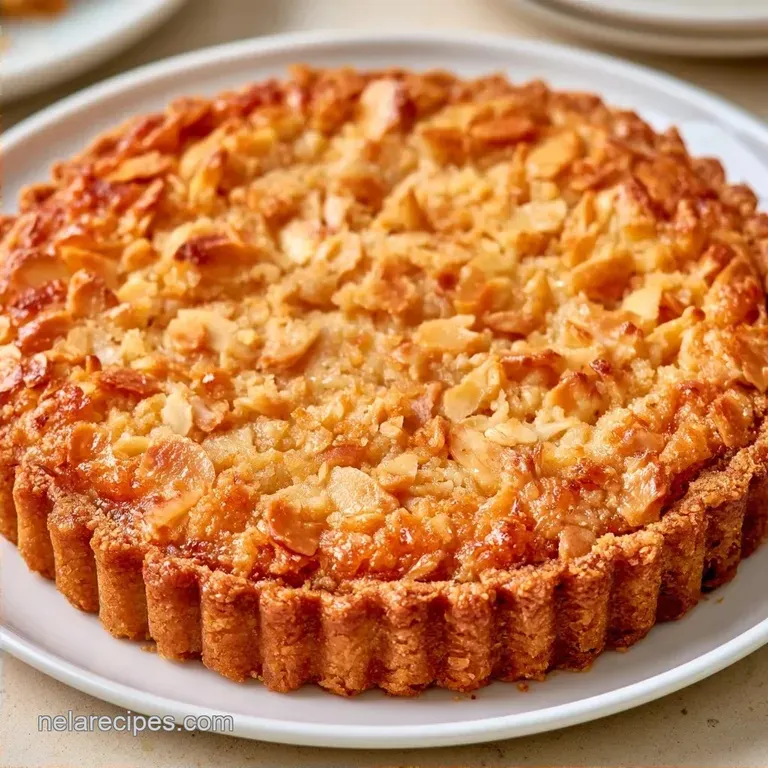
- Time: 10 min active + 10 min baking
- Flavor/Texture Hook: Nutty, mahogany colored, and crisp
- Perfect for: gluten-free desserts, quick weeknight treats, or holiday tarts
Almond Flour Pie Crust
That smell of toasted nuts and melted butter hitting the oven air is honestly the best part of baking. I remember the first time I tried a grain free crust; it was a complete mess. The whole thing just disintegrated into a pile of sandy crumbs the second I touched it with a fork.
It wasn't a slice of pie, it was more like a bowl of almond flavored porridge.
But this version actually holds. You don't have to deal with the stress of rolling out a temperamental dough or worrying about it shrinking in the pan. It's a simple press in method that gives you a crisp, buttery foundation every time.
Whether you're making a tart for a party or just treating your sweet tooth on a Tuesday, this Almond Flour Pie Crust works. It's fast, uses basic pantry staples, and doesn't require any fancy equipment.
What Nobody Tells You
The Binding Logic: Without gluten, we rely on melted butter to coat every grain of almond flour. This creates a fat based structure that hardens as it cools, locking the crust in place.
Temperature Control: Using melted butter instead of cold chunks is intentional. It allows the dough to be pliable and pressable, which prevents the cracks you usually see in gluten-free baking.
The Shopping List Breakdown
Choosing the right flour makes a huge difference here. You want super fine almond flour, not almond meal. Almond meal is too coarse and will make the crust feel gritty. If you only have meal, pulse it in a food processor for 30 seconds before starting.
| Ingredient | What It Does | Best Swap |
|---|---|---|
| Super fine Almond Flour | Provides the bulk and nutty base | Almond meal (must be pulsed fine) |
| Unsalted Butter | Binds the dough and adds richness | Coconut oil (solidified) |
| Maple Syrup | Adds sweetness and helps browning | Honey (slight flavor change) |
| Coconut Sugar | Gives a deep, caramel note | Brown sugar |
Pantry List and Swaps
- 2 cups (200g) super fine almond flour Why this? Ensures a smooth, non gritty texture
- ¼ tsp (1.5g) fine sea salt Why this? Balances the richness of the butter
- 1 tbsp (12g) coconut sugar Why this? Helps the edges brown to a mahogany color
- ¼ cup (55g) unsalted butter, melted and slightly cooled Why this? Acts as the primary binding agent
- 1 tbsp (15ml) maple syrup Why this? Adds moisture and a hint of sweetness
- 1 tsp (5ml) vanilla extract Why this? Rounds out the nutty flavor
Gear You'll Need
No stand mixer or rolling pin is necessary here. A medium mixing bowl and a sturdy spatula are sufficient. A 9 inch pie plate is the best choice for the pan; I recommend glass or ceramic for even heat distribution, but metal is also acceptable.
Have a flat bottomed drinking glass on hand, as it's the most efficient way to press the dough into the edges while keeping your hands clean.
Step by step Guide
Gathering the Dry Base
Whisk together the almond flour, salt, and coconut sugar in a medium bowl. Use the whisk to break up any large clumps of flour so the crust stays smooth.
Incorporating the Binding Fats
Pour in the melted butter, maple syrup, and vanilla. Stir with a spatula until the mixture looks like wet sand. Pinch a bit of dough between your fingers; it should clump together and hold its shape without crumbling.
Pressing the Dough
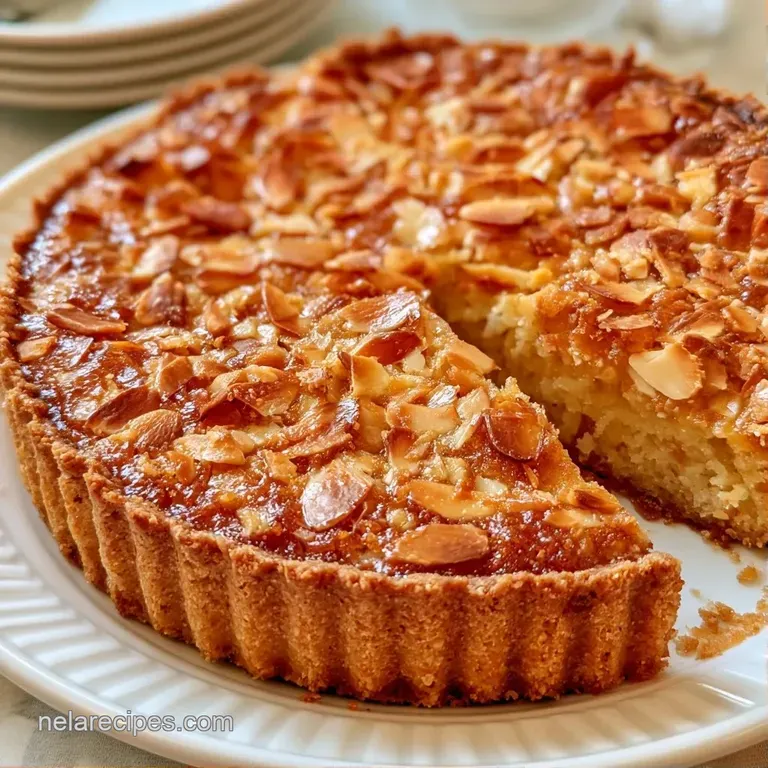
Transfer the dough into your 9 inch pie plate. Use your fingers or the bottom of a flat glass to firmly press the mixture into the bottom. Push the dough up the sides of the pan, making sure the thickness is even across the whole base.
Baking to Perfection
Set the oven to 350°F (175°C). Bake for 8 to 10 minutes until the edges are mahogany colored. Remove it from the oven and let it cool completely in the pan. This cooling period is when the butter sets and the crust becomes sturdy.
Pro Tips and Pitfalls
The most common issue people have is a crust that shatters. This usually happens because the dough was too dry before it went into the oven. If you pinch the dough and it falls apart, don't risk it. Add another teaspoon of melted butter and stir again.
Another thing to watch is the edges. Almond flour burns much faster than wheat flour. I usually start checking the color at the 7 minute mark. Once those edges look deep golden or mahogany, pull it out immediately.
Fixing a Crumbly Base
If the crust breaks when you slice it, it likely didn't cool long enough. The structure depends on the fat solidifying. Give it at least 30 minutes of resting time before adding your filling.
Preventing Burnt Edges
If your pan tends to overheat the sides, you can wrap a thin strip of foil around the outer rim of the pie plate. This shields the edges while the bottom finishes cooking.
Stopping the Soggy Bottom
If you're adding a very wet filling, bake the crust for an extra 2 minutes. This creates a slightly harder seal that prevents moisture from seeping into the base.
| Problem | Root Cause | Solution |
|---|---|---|
| Crust crumbles | Not enough binder/fat | Add 1 tsp melted butter |
| Burnt edges | Oven too hot or overbaked | Use foil shields on edges |
| Soggy base | Filling added too early | Cool crust fully before filling |
| Dough won't press | Butter cooled too much | Microwave for 5-10 seconds |
Making it Your Own
This base is incredibly flexible. For a savory Almond Flour Pie Crust, just skip the maple syrup, vanilla, and coconut sugar. Instead, add a pinch of garlic powder or dried thyme. It's great for a quiche or a vegetable tart.
If you're making an Almond Flour Pie Crust for cheesecake, you can add two tablespoons of melted butter to make it even sturdier, as cheesecakes are often heavier and require a stronger base.
For those wanting a vegan version, swap the butter for melted coconut oil and use a bit more maple syrup to keep the binding strength.
If you enjoy this kind of grain free baking, you might also like my almond flour bread for a savory breakfast option.
Decision Shortcut
- For a firmer set: chill the pressed dough 30 mins before baking.
- For extra sweetness: add 1 tsp more coconut sugar.
- For a toasted flavor: brown the almond flour in a pan for 3 mins first.
Fast vs Classic Comparison
| Feature | Press In Almond Crust | Traditional Wheat Crust |
|---|---|---|
| Prep Time | 10 minutes | 60+ minutes (inc. chilling) |
| Method | Press into pan | Roll and drape |
| Texture | Crisp and nutty | Flaky and buttery |
Freezing and Reheating Guide
You can make this crust ahead of time to save stress during a party. Unbaked dough doesn't store well, but a pre baked crust is a different story. Once cooled, wrap the crust tightly in plastic wrap and store it in the fridge for 3 days.
For longer storage, I put the cooled crust in the freezer. It lasts for about 2 months. Similar to how I handle almond flour banana bread, you can freeze the crust and then quickly refresh it in the oven.
Reheating Tips
To wake up a frozen crust, pop it into a 300°F (150°C) oven for 5 minutes. This removes the chill and brings back that crisp texture without over browning the edges.
Zero Waste Tips
If you have leftover almond flour or a bit of dough that didn't make it into the pan, don't toss it. Press the scraps into mini muffin tins and bake them for 8 minutes. They make great little "nut cups" for a dollop of jam or a fresh raspberry.
The Best Serving Ways
This crust is a versatile base. For dessert, an almond flour pie crust works beautifully for apple pie since the nutty flavor pairs well with cinnamon. Just be sure to pre-bake the shell before filling it with apples to prevent a soggy bottom.
For a lighter option, fill the cooled crust with Greek yogurt, a bit of honey, and fresh berries. It has the appearance of a fancy tart but requires minimal effort.
If serving this at a dinner party, slice the pie once the filling has set and the crust is at room temperature. A sharp, serrated knife will ensure clean cuts without breaking the base, so every guest gets a neat slice rather than a heap of crumbs.
Recipe FAQs
Can almond flour be used for pie crust?
Yes, it makes a wonderful gluten-free alternative. The resulting crust is nuttier and slightly denser than a traditional wheat based pastry.
How to make an almond flour crust?
Whisk together almond flour, salt, and sugar before stirring in melted butter, maple syrup, and vanilla. Press the dough into a 9 inch plate and bake at 350°F for 8 to 10 minutes.
Is it true that almond flour crusts always crumble?
Surprisingly, no. Allowing the crust to cool completely in the pan ensures the fats solidify and the structure sets firmly.
What happens if I use almond flour instead of all-purpose flour?
You get a grain free crust with a distinct nutty flavor. Because it lacks the elasticity of gluten, you press the dough into the pan instead of rolling it.
Does this crust pair well with fruit fillings?
It works beautifully with fresh berries or a strawberry cobbler style filling. The richness of the almond flour balances the tartness of the fruit.
Almond Flour Pie Crust