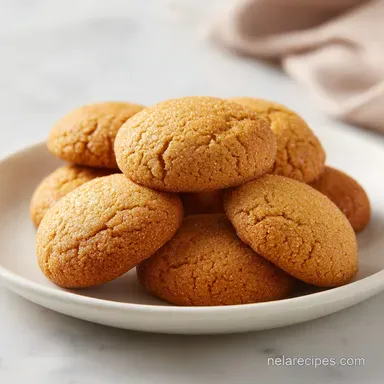
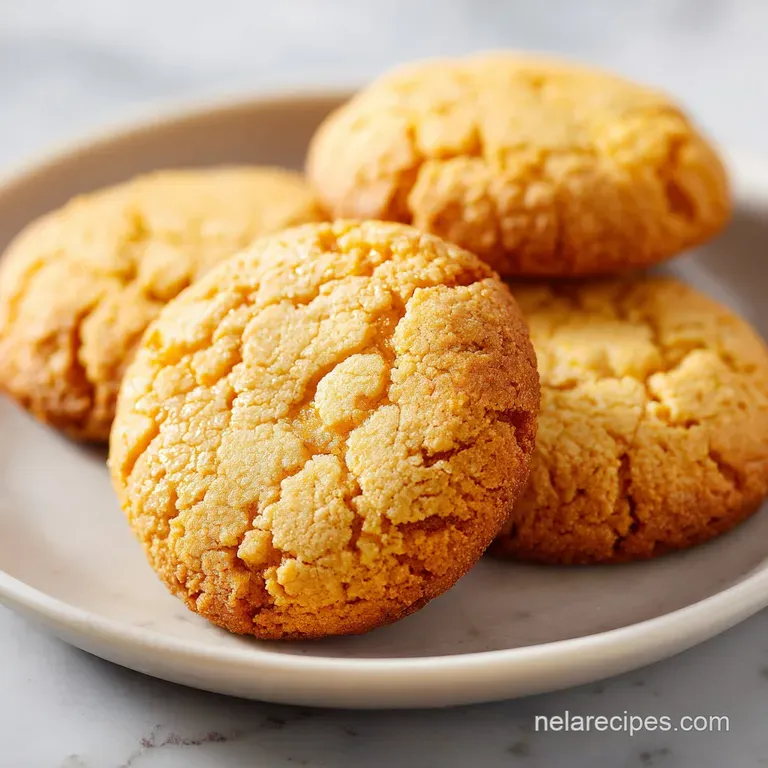
Soft and Chewy Butterscotch Cookies: Velvety Center
- Time:15 minutes active + 10 minutes cook = 25 minutes total
- Flavor/Texture Hook: Gooey butterscotch pools with a slight salty sweet edge
- Perfect for: Holiday cookie swaps, rainy afternoon cravings, or a foolproof dessert for guests
- Soft and Chewy Butterscotch Cookies
- Secrets for Proper Texture
- Ingredient Deep Dive
- The Grocery List
- Tools You Will Need
- Step-by-Step Baking Guide
- Fixes for Common Mistakes
- Troubleshooting Common Issues
- Making Easy Swaps
- Adjusting Batch Sizes
- Baking Myths
- Keeping Cookies Fresh
- Best Ways to Serve
- Recipe FAQs
- 📝 Recipe Card
That specific smell hits you the second the butter and brown sugar start to cream together, it's like a warm hug of caramelized sugar and vanilla. I remember making these for a neighborhood get together a few years back, and I was so worried they'd turn out like those hard, crunchy disks you find in some stores.
I wanted that specific, almost underbaked texture that makes you want to eat three before you've even poured a glass of milk.
The secret is all in the timing and the temperature. When you pull them out, they might look a bit too soft, but trust me on this, that is where the magic happens. As they cool on the pan, they set into these irresistible, soft and chewy butterscotch cookies that practically melt in your mouth.
They are the ultimate crowd pleaser because they feel a bit more special than a standard chocolate chip cookie but are just as easy to whip up.
Soft and Chewy Butterscotch Cookies
Right then, let's get into why these actually work. Most people overbake their cookies because they wait for the center to look "done." If you do that, you've already lost the chew. I've learned the hard way that the carryover heat from the baking sheet is what finishes the job.
If they look perfectly done in the oven, they'll be hard by the time you eat them.
The balance of sugars is the other big thing. We use a lot of brown sugar compared to granulated sugar. This isn't just for the deep, molasses flavor, but because brown sugar holds onto moisture much better. It creates that heavy, dense crumb that we're after, rather than a light, cakey one.
Secrets for Proper Texture
Here is the lowdown on why this specific method gives you that professional result without the stress.
- Sugar Hydration: Brown sugar is hygroscopic, meaning it pulls moisture from the air and keeps the dough from drying out during the bake.
- Butter Temperature: Softened butter (not melted) traps tiny air bubbles during creaming, which gives the cookie structure so it doesn't just flatten into a pancake.
- Low Speed Mixing: Mixing the flour on low prevents gluten development, ensuring the texture stays tender rather than bready.
- Short Bake Time: Removing the cookies while the center is still slightly pale preserves the moisture and creates that signature chew.
| Fresh Ingredients | Shortcut/Sub | Texture Impact | Result |
|---|---|---|---|
| Softened Butter | Melted Butter | More spread | Thinner, crispier edges |
| Brown Sugar | White Sugar | Less moisture | Lighter, crunchier snap |
| Room Temp Eggs | Cold Eggs | Poor emulsion | Greasy, uneven bake |
I once tried to rush these by melting the butter in the microwave. Honestly, don't even bother with that. Melted butter changes the entire structure, and you end up with a cookie that spreads way too much. Take the five minutes to let your butter soften naturally, or pulse it quickly in a processor if you're in a rush.
Ingredient Deep Dive
Before we get to the list, let's look at what these components are actually doing in your bowl.
| Ingredient | Science Role | Pro Secret |
|---|---|---|
| Brown Sugar | Moisture & Color | Use dark brown sugar for a deeper, toffee like taste |
| Baking Soda | Lift & Browning | Reacts with brown sugar acid to create a soft rise |
| All Purpose Flour | Structure | Measure with a spoon and level off to avoid "cakey" cookies |
| Butterscotch Chips | Flavor Pockets | Chill the chips if your kitchen is hot to keep them from bleeding |
The Grocery List
Here is everything you need. I've listed some swaps in case your pantry is looking a bit bare, but stick to the main list if you want that exact "bakery style" result.
- 1 cup unsalted butter, softened Why this? Provides the rich base and necessary fat for chew. (Substitute: salted butter, but omit the added salt)
- 1 cup brown sugar, packed Why this? Essential for the chewy texture and molasses flavor. (Substitute: coconut sugar, though it's slightly drier)
- 1/2 cup granulated sugar Why this? Helps with the crisp edges. (Substitute: caster sugar for a finer crumb)
- 2 large eggs, room temperature Why this? Binds everything and adds richness. (Substitute: 1/2 cup applesauce for a denser, eggless version)
- 2 tsp vanilla extract Why this? Rounds out the sweetness. (Substitute: maple syrup for a woody note)
- 2 1/4 cups all purpose flour Why this? The backbone of the cookie. (Substitute: 1:1 GF blend)
- 1 tsp baking soda Why this? Provides the necessary lift. (Substitute: 3 tsp baking powder)
- 1/2 tsp salt Why this? Cuts through the heavy sugar. (Substitute: fine sea salt)
- 2 cups butterscotch chips Why this? The star of the show. (Substitute: chopped butterscotch candy)
Tools You Will Need
You don't need a fancy kitchen for this, but a few things make it much easier. I use a stand mixer such as KitchenAid, but a hand mixer works just as well.
- Large mixing bowl (for the wet ingredients)
- Medium mixing bowl (for the dry ingredients)
- Electric mixer (hand or stand)
- Rubber spatula (for folding in those chips)
- Baking sheets (two, so you can rotate them)
- Parchment paper (absolute must to prevent sticking)
- Cookie scoop or tablespoon (for consistent sizes)
Step-by-step Baking Guide
Let's crack on. Follow these steps exactly, and you'll have the best soft and chewy butterscotch cookies you've ever tasted.
- Preheat your oven to 350°F (175°C) and line your baking sheets with parchment paper. Note: Doing this first ensures the oven is fully heated before the dough goes in.
- In a large bowl, beat the softened butter, brown sugar, and granulated sugar. Mix on medium high until the mixture is pale, fluffy, and looks like wet sand.
- Add eggs one at a time, beating well after each addition. Stir in the vanilla extract. Note: Room temperature eggs emulsify better, preventing the batter from separating.
- In a separate small bowl, whisk together the flour, baking soda, and salt.
- Slowly add the dry flour mixture to the wet ingredients. Mix on low speed until just combined and no flour streaks remain.
- Gently fold in the butterscotch chips by hand using a spatula. Note: Do not use the mixer here, or you'll overwork the gluten and lose the chew.
- Scoop rounded tablespoons of dough onto the prepared baking sheets, leaving about 2 inches of space between them.
- Bake for 10 minutes until the edges are golden and the centers still look slightly soft and underdone.
Chef's Tip: If you want an even more intense flavor, add a tiny pinch of espresso powder to the flour. It doesn't make them taste like coffee, but it makes the butterscotch taste deeper and more complex.
Fixes for Common Mistakes
Even the best of us mess up a batch sometimes. If your cookies aren't behaving, it's usually one of these three things.
Troubleshooting Common Issues
| Issue | Solution |
|---|---|
| Why Your Cookies Are Cakey | If your cookies feel more like little cakes than chewy treats, you've likely added too much flour. This usually happens when you scoop the flour directly with the measuring cup, packing it down. |
| Why They Spread Too Much | Flat cookies are almost always a butter issue. If the butter was too soft (almost melted) or the oven wasn't preheated, the fat melts before the flour can set. |
| Why the Flavor Is Flat | Butterscotch can be overwhelmingly sweet. If it tastes one dimensional, you might have skipped the salt or used a low quality vanilla. |
Common Mistakes Checklist:
- ✓ Don't overmix the flour (stop as soon as streaks disappear).
- ✓ Use room temperature eggs to keep the emulsion stable.
- ✓ Do not overbake (take them out while the center looks soft).
- ✓ Pack your brown sugar firmly into the measuring cup.
- ✓ Let the cookies cool on the pan for at least 5 minutes.
Making Easy Swaps
You can definitely tweak this recipe to fit your needs, but keep in mind that baking is a bit of a balancing act. If you're changing a main ingredient, it'll affect the final texture.
For instance, if you want a nuttier flavor, you can swap 1/4 cup of the flour for almond flour. It adds a lovely richness but makes the cookie slightly softer. If you prefer something a bit lighter, you might check out my vanilla cupcakes for a different kind of dessert.
If you live at a higher altitude, check out this high altitude baking guide from King Arthur Baking. It has everything you need to adjust your leavening and liquids so your cookies don't collapse.
Adjusting Batch Sizes
Sometimes you need more than 36 cookies, and sometimes you just want a small treat for yourself.
Scaling Down (Half Batch): To make half a batch, you'll need to handle the egg carefully. Crack one egg into a bowl, whisk it, and use exactly half of it by weight or volume. Reduce the baking time by about 1-2 minutes since the oven won't be as full.
Scaling Up (Double Batch): When doubling, don't just double the salt and baking soda increase them by about 1.5x instead to avoid a metallic taste. Work in batches; if you crowd the oven with too many sheets, the air won't circulate, and you'll get uneven browning.
I recommend lowering the oven temperature by about 25°F (to 325°F/160°C) and extending the time by a few minutes to ensure an even bake.
Baking Myths
I've heard a lot of "rules" over the years that are actually just myths. Let's clear a few up.
Myth: You must chill the dough for 24 hours. While chilling improves flavor, it's not mandatory for these. If you're in a hurry, you can bake them immediately and they'll still be great. Chilling just makes them thicker.
Myth: Adding more flour stops the spreading. Adding more flour doesn't stop the spread as much as it ruins the texture. If your cookies are spreading, the problem is the temperature of your butter or your oven, not the amount of flour.
Keeping Cookies Fresh
To keep these soft and chewy butterscotch cookies from going hard, you need to fight the air.
Storage Guidelines: Store them in an airtight container at room temperature for up to 3 days. A pro trick is to put a slice of white bread in the container; the cookies will absorb the moisture from the bread and stay soft for longer. In the fridge, they'll last a week, but they'll be denser.
Freezing Tips: You can freeze the baked cookies for up to 3 months. Wrap them individually in parchment and then place them in a freezer bag. To reheat, just pop one in the microwave for 10-15 seconds, and it'll taste like it just came out of the oven.
Zero Waste: If you have a little bit of dough left that isn't enough for a full cookie, don't toss it! Roll it into a tiny ball and bake it as a "tester" to check the oven temp, or stir it into a bowl of warm oatmeal for a sweet breakfast treat.
Best Ways to Serve
These are incredible on their own, but if you're hosting a party, you can really lean into the indulgence. I love serving these on a platter with a bowl of cold milk or a drizzle of salted caramel sauce over the top.
If you're putting together a full dessert spread, these pair perfectly with some fudgy chocolate brownies for a contrast in flavor. The deep chocolate cuts through the buttery sweetness of the butterscotch.
Decision Shortcut:
- If you want them gooier: Bake for 9 minutes instead of 10.
- If you want a salty kick: Sprinkle flaky sea salt on top immediately after baking.
- If you want them thicker: Chill the scooped dough balls for 30 minutes before baking.
Recipe FAQs
What is the secret to chewy butterscotch cookies?
The combination of brown sugar and room temperature eggs. The sugar provides deep moisture while the eggs give the cookies their structural chew.
What is the secret to making cookies soft and chewy?
Avoid overmixing the flour. Mix on low speed until just combined so you don't develop too much gluten, which would make the cookies tough instead of tender.
What makes cookies chewy vs soft?
The ratio of sugars and the exact bake time. Brown sugar creates the chew, while pulling them out of the oven at precisely 10 minutes prevents them from drying out.
What is the secret ingredient to keep cookies soft?
Brown sugar. It naturally attracts moisture from the air, which keeps the center of the cookie tender for longer.
How to store these cookies to keep them soft?
Store them in an airtight container at room temperature. This prevents the butter from hardening and pairs perfectly as a sweet treat after Baked Spaghetti.
Why did my cookies spread too much?
The butter was likely too soft or the oven wasn't preheated. If the fat melts before the flour can set at 350°F, the dough will flatten out on the sheet.
Is it true that baking them at 400°F makes them softer?
No, this is a common misconception. Higher temperatures burn the edges before the center is cooked; 350°F is essential for an even, soft bake.
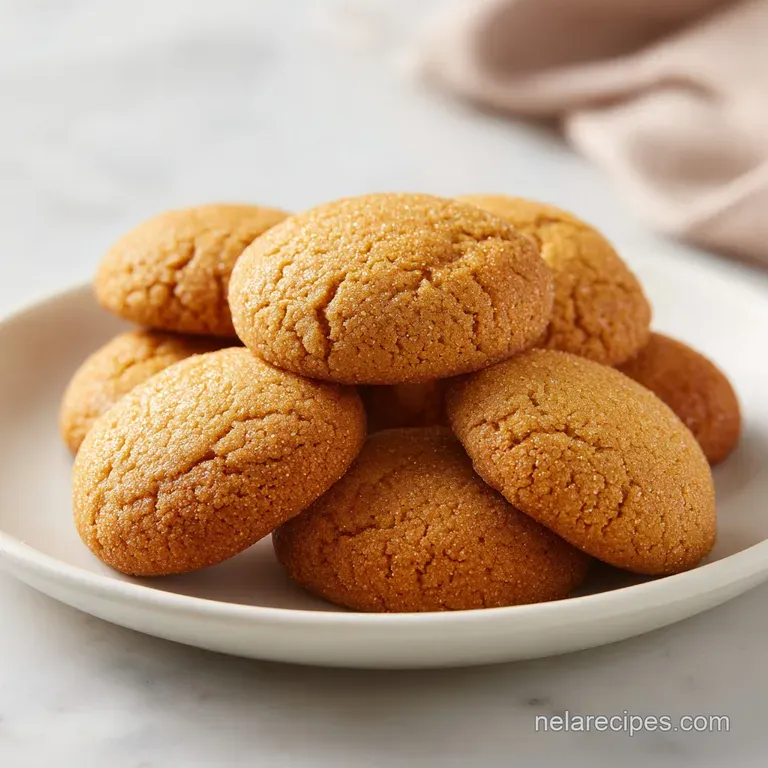
Soft And Chewy Butterscotch Cookies