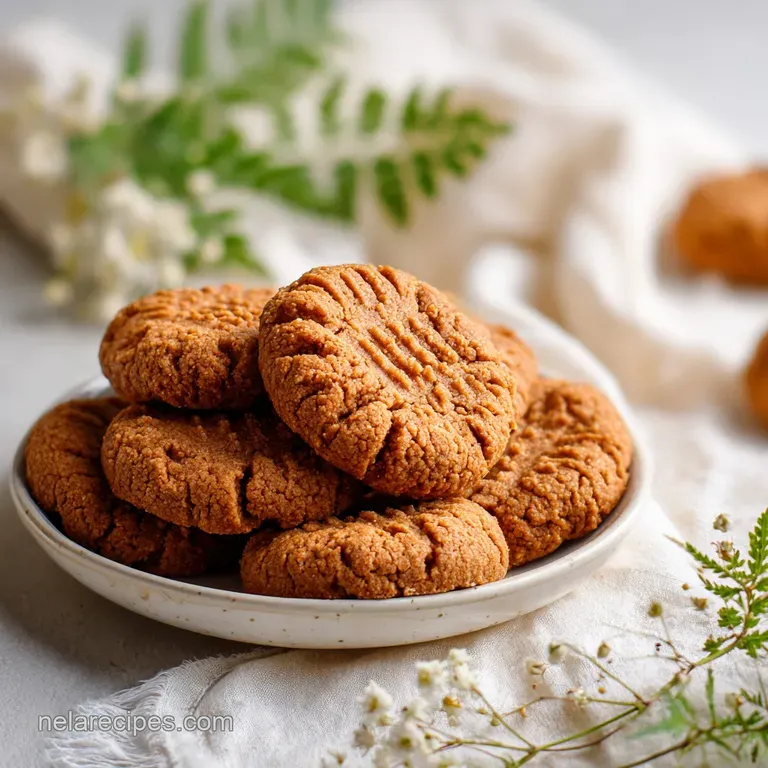
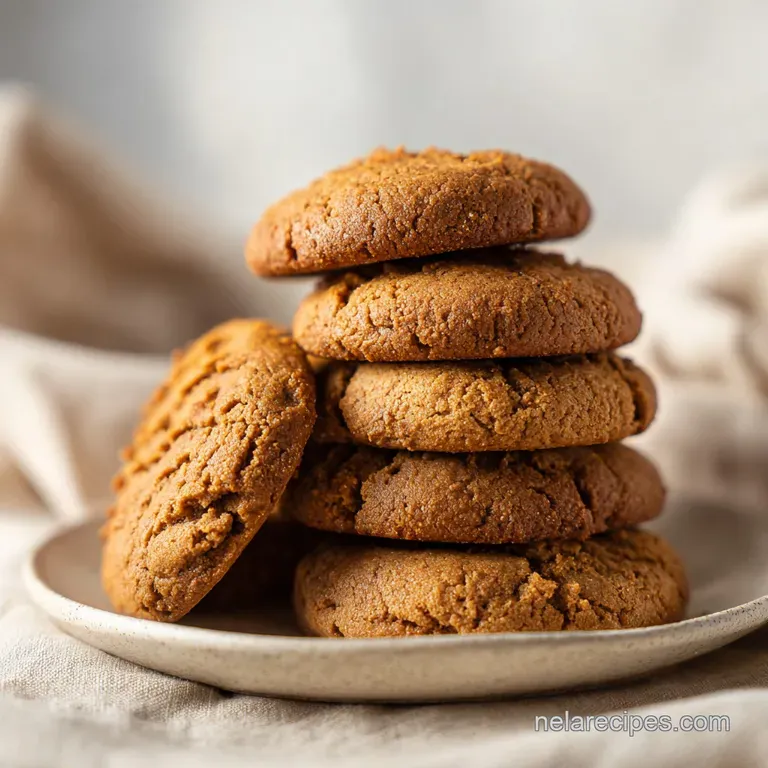
3 Ingredient Peanut Butter Cookies: Flourless and Tender
- Time:5 minutes prep + 10 minutes baking + 5 minutes resting = 20 minutes total
- Flavor/Texture Hook: Intensely nutty, sweet salty, and tender crumbed
- Perfect for: Last minute guests, gluten-free cravings, or beginner bakers
- The Logic Behind These Simple Components
- Accurate Timing and Temperature Specifics
- Selecting High Quality Pantry Ingredients
- Essential Tools for Seamless Baking
- Step-by-Step Mixing and Baking Technique
- Correcting Common Peanut Butter Baking Errors
- Creative Variations and Smart Substitutions
- Proper Storage and Freezing Methods
- Visual Presentation and Flavor Pairings
- Recipe FAQs
- 📝 Recipe Card
The Logic Behind These Simple Components
Understanding the mechanics of these cookies helps you realize why they don't need the standard "bakery" list of ingredients. When you strip a recipe down to its core, every single gram of food has a massive job to do.
In this case, we are relying on a trio of power players to handle structure, moisture, and flavor all at once.
- Protein Coagulation: The egg protein acts as the structural "rebar" of the cookie, setting firmly as it heats to hold the other ingredients in place without gluten.
- Fat Emulsification: Peanut butter provides the necessary lipids for a tender mouthfeel, essentially acting as both the flour (solids) and the butter (fat) in one jar.
- Hygroscopic Action: The granulated sugar draws moisture into the dough, which helps create those slightly crisp, "shattered" edges while keeping the center soft.
- Maillard Reaction: Because there is no flour to mask the flavor, the sugar and peanut proteins brown rapidly, creating a deep, savory sweet profile.
| Cookie Thickness | Internal Temp | Rest Time | Visual Cue |
|---|---|---|---|
| 1/2 inch | 175°F (180°C) | 5 minutes | Edges turn deep mahogany |
| 1/4 inch | 185°F (185°C) | 3 minutes | Firm and crisp throughout |
| 3/4 inch | 165°F (174°C) | 8 minutes | Soft, almost fudge like center |
This quick decision guide ensures you get the exact texture you want. If you like them soft, keep them thick. If you want a snap, press them thin. Just remember that the rest time is non negotiable because these cookies are quite fragile while they are still piping hot from the oven.
Accurate Timing and Temperature Specifics
Consistency is the secret to making the quick 3 ingredient peanut butter cookies taste like they came from a professional kitchen rather than a frantic late night snack session. I’ve found that even a two minute difference in the oven can transform these from "melt in-your mouth" to "dry and crumbly." You really have to keep your eyes on the prize once that timer starts ticking.
| Component | Scientific Role | Pro Secret |
|---|---|---|
| Peanut Butter | Primary Lipid | Use a processed brand (like Jif) for a smoother, less oily crumb |
| Granulated Sugar | Structural Binder | Pulse in a blender for 5 seconds to help it dissolve faster |
| Large Egg | Leavening Agent | Use a room temperature egg to prevent the fat in the PB from seizing |
When these ingredients collide, you aren't just making a snack; you're creating a stable emulsion. The sugar doesn't just sweeten; it actually interferes with the egg proteins to keep them from getting too rubbery.
This balance is what gives us that sought after velvety texture that is often missing from more complex recipes.
Selecting high-quality Pantry Ingredients
For this specific bake, the quality of your peanut butter is the most important choice you'll make. I’ve experimented with everything from the fancy, oil on-top artisanal jars to the standard supermarket stuff. Honestly?
The "no stir" processed brands actually perform better here because they contain stabilizers that prevent the cookies from spreading into one giant oily puddle on your tray.
- 1 cup (250g) peanut butter: Why this? Provides the fat, protein, and bulk of the cookie structure.
- 1 cup (200g) granulated white sugar: Why this? Creates the crisp exterior and provides essential sweetness.
- 1 large egg: Why this? The "glue" that holds the sugar and fat together during baking.
If you really want to lean into the "home cook" vibe, you can swap the granulated sugar for brown sugar for a chewier, more molasses forward result. However, for that classic, snap then melt experience, white sugar is the champion.
Just make sure your egg is large; a medium egg won't provide enough moisture, and you'll end up with a dough that looks more like wet sand than a workable paste.
Essential Tools for Seamless Baking
You don't need a stand mixer such as a KitchenAid for this, though you can certainly use one if you're doubling the batch. I prefer the tactile feel of a sturdy wooden spoon or a silicone spatula.
There is something satisfying about watching the three separate items transform into a shiny, cohesive dough right before your eyes.
A heavy duty baking sheet is your best friend here. Cheap, thin pans tend to warp in a 350°F (180°C) oven, which leads to uneven browning.
If you find your cookies are burning on the bottom before the tops are set, try "double panning" by nesting one baking sheet inside another to create an insulating layer of air.
Chef's Tip: Freeze your peanut butter for 10 minutes before measuring. It makes it much easier to scrape out of the measuring cup without leaving half the ingredients behind.
Also, don't forget the parchment paper. Because of the high sugar and fat content, these cookies love to bond with metal surfaces. A Silpat mat or a simple sheet of parchment will save you from a heartbreaking cleanup session later.
step-by-step Mixing and Baking Technique
- Preheat your oven to 350°F (180°C). Line a large baking sheet with parchment paper or a Silpat mat to prevent sticking. Note: A preheated oven ensures the cookies set before the fat melts too much.
- In a medium mixing bowl, combine the peanut butter, sugar, and egg. Stir vigorously with a spatula or wooden spoon until the mixture transforms into a smooth, slightly shiny dough that pulls away from the sides of the bowl. Note: This takes about 60 seconds of solid stirring.
- Roll the dough into 1 inch spheres (approximately the size of a golf ball). Place them on the prepared baking sheet, spaced 2 inches apart. Note: Consistent size ensures they all finish cooking at the same time.
- Using the tines of a dinner fork, press a crosshatch pattern into each ball, flattening the cookie to approximately 1/2 inch thickness. Note: This increases surface area for better browning.
- Bake for 10 minutes, or until the edges are set and the bottoms are a deep mahogany color. Do not overbake. Note: They will look slightly underdone in the center, which is perfect.
- Allow the cookies to rest on the hot baking sheet for at least 5 minutes. This cooling period is essential for the structure to set before moving them to a wire rack. Note: Moving them too early will cause them to shatter.
- Check the underside of one cookie; it should be dark gold but not black.
- Transfer to a wire rack to finish cooling completely for maximum crispness.
Correcting Common Peanut Butter Baking Errors
Even with only three ingredients, things can occasionally go sideways. The most common issue I hear from friends is that the dough feels too oily to roll into balls. This usually happens if the kitchen is very warm or if you used a "natural" peanut butter where the oil has separated.
The Problem of Spreading
If your cookies come out looking like thin pancakes, your oven might be too cool, or your peanut butter might be too runny. When the fat melts faster than the egg can set the structure, you lose that beautiful mounded shape.
Always check that your oven has reached the full 350°F (180°C) before sliding the tray in.
The Texture of Dry Crumbles
On the flip side, if the cookies are falling apart into dust, you likely overbaked them or used an egg that was too small. These cookies don't have flour to provide flexibility, so they rely entirely on the egg's moisture.
If you suspect your eggs are on the smaller side, add a teaspoon of water to the mix to balance things out.
| Problem | Root Cause | Solution |
|---|---|---|
| Oily dough | Separated natural PB | Chill dough for 20 mins before rolling |
| Burnt bottoms | Dark baking sheet | Move rack to upper third of oven |
| Grainy texture | Undissolved sugar | Mix longer until dough looks shiny |
Common Mistakes Checklist
- ✓ Never skip the 5 minute rest on the hot pan (the "carryover" cook is vital).
- ✓ Don't use a cold egg; it can cause the peanut butter to clump and get gritty.
- ✓ Avoid low-fat peanut butter; the fillers will ruin the chemical balance.
- ✓ Pat your hands with a little water if the dough is sticking while rolling.
- ✓ Ensure your baking sheet is completely cool before starting a second batch.
Creative Variations and Smart Substitutions
Once you've mastered the basic quick 3 ingredient peanut butter cookies, the world is your oyster. You can treat this dough as a blank canvas. For example, I love adding a teaspoon of espresso powder to deepen the roasted flavor it makes them taste incredibly "grown up" and sophisticated.
If you are looking for something even more indulgent, you might want to try these fudgy chocolate brownies as a companion on your dessert platter. They offer a rich cocoa contrast to the salty sweet peanut profile. You could even crumble these cookies over the top of the brownie batter before baking for a "PB cup" inspired treat.
| Original Ingredient | Substitute | Why It Works |
|---|---|---|
| Peanut Butter | Almond Butter | Nutty but less sweet. Note: Use "no stir" versions for best results. |
| Granulated Sugar | Coconut Sugar | Adds a caramel/toasty note. Note: Cookies will be darker and slightly drier. |
| Large Egg | Flax Egg (1 tbsp meal + 3 tbsp water) | Vegan binder. Note: Results in a much softer, more fragile cookie. |
For a globally inspired twist, you can find inspiration in third culture cookbooks which often highlight unique ways to use pantry staples like nut butters in modern desserts. Adding a pinch of cardamom or a drizzle of miso caramel can take these from simple to spectacular in seconds.
Proper Storage and Freezing Methods
These cookies are surprisingly hardy. Because they don't have flour, they don't go stale in the same way traditional cookies do. Instead, they tend to get slightly softer over time as they absorb moisture from the air.
To keep that initial "shatter" on the edges, store them in an airtight glass container at room temperature for up to 5 days.
If you want to save some for later, these freeze beautifully. You can freeze the baked cookies for up to 3 months just let them thaw on the counter for 10 minutes before eating. Even better, you can freeze the raw dough balls.
When a craving hits, just pop a few onto a tray and bake them directly from frozen; just add 2 extra minutes to the total bake time.
For a zero waste kitchen tip, don't throw away the "dust" at the bottom of the cookie jar. Those sweet, salty crumbs are incredible when sprinkled over vanilla ice cream or folded into a morning bowl of oatmeal. You can even use the leftover crumbs as a crust for a small cheesecake.
Visual Presentation and Flavor Pairings
Eating is a full sensory experience, so I always recommend a few garnishes to make these look as good as they taste. According to USDA data, peanut butter is a dense source of energy, so a little goes a long way. To balance that richness, I like to use three specific color accents:
- The White Garnish: A sprinkle of flaky sea salt (like Maldon) right after they come out of the oven. This provides a bright visual pop and cuts through the heavy sugar.
- The Brown Garnish: A quick drizzle of melted dark chocolate. This adds a velvety bitterness that complements the roasted nuts.
- The Tan Garnish: A handful of crushed, honey roasted peanuts pressed into the tops before baking for extra crunch.
Chef's Note: If you're feeling adventurous, add half a teaspoon of cinnamon to the sugar before mixing. It doesn't change the chemistry, but it adds a warmth that makes the kitchen smell like a professional bakery.
- If you want a Chewy Center
- Underbake by 1 minute and use brown sugar.
- If you want a Crunchy Snap
- Flatten the dough balls extra thin with the fork.
- If you want a Salty Kick
- Use "Extra Crunchy" salted peanut butter and add that sea salt garnish.
These cookies are the definition of a "quick win." They prove that you don't need a pantry full of specialized ingredients to create something that feels like a massive treat. Whether it's a rainy Tuesday or a sudden weekend get together, you're now just 20 minutes away from cookie perfection.
Happy baking!

Recipe FAQs
How to make 3-ingredient cookies easy?
Combine one cup of peanut butter, one cup of sugar, and one large egg in a bowl and stir vigorously until the dough is smooth and shiny. Roll the mixture into 1 inch balls, press a crosshatch pattern into them with a fork, and bake at 350°F (175°C) for 10 minutes.
What is Snoop Dogg's cookie recipe?
This recipe is not associated with Snoop Dogg. The classic 3-ingredient version relies specifically on the chemistry between peanut butter, sugar, and egg to create its signature texture without extra additions.
Can you make cookies with just peanut butter and sugar?
No, you must include the egg. The egg acts as the vital binding agent that holds the peanut butter and sugar together; without it, the mixture will not form a dough and will simply melt into a puddle in the oven.
Is it true I can skip the resting period on the baking sheet?
No, this is a common misconception. You must allow the cookies to rest on the hot baking sheet for at least 5 minutes, as this cooling time is essential for the structure to set before you attempt to move them to a wire rack.
How to tell if the cookies are finished baking?
Remove the cookies from the oven once the edges are set and the bottoms have achieved a deep mahogany color. Watch them closely, as baking for longer than 10 minutes will lead to an overbaked, dry texture.
Can I use a different temperature to speed up the baking?
No, stick to 350°F (175°C). Following the specific temperature ensures the cookies set properly without the peanut butter fats separating or the sugar burning before the center is cooked through.
How to prevent the cookies from sticking to the pan?
Line your baking sheet with parchment paper or a silicone Silpat mat before placing your dough balls down. This creates a non-stick surface that allows you to easily remove the delicate cookies once they have cooled for the required 5 minutes.
3 Ingredient Peanut Butter Cookies
Ingredients:
Instructions:
Nutrition Facts:
| Calories | 193 kcal |
|---|---|
| Protein | 5.7 g |
| Fat | 10.8 g |
| Carbs | 20.9 g |
| Fiber | 1.3 g |
| Sugar | 18.5 g |
| Sodium | 89 mg |
